I’ve been wanting a camera backpack to carry my camera equipment for quite some time. The over the shoulder bag (Tamrac System 6) that I have been using works well, but, it gets a little annoying and uncomfortable on long treks. It’s served me well for going on 3 years now, but for longer travel, more involved hiking, etc. I wanted something more comfortable that allowed me to transport a little more.
After doing a fair amount of research and checking out multiple bags in local retailers I zeroed in on the Parallax bag by Mountainsmith.
I picked mine up from backcountry.com. They have awesome customer service and good pricing, check them out.
Why The Parallax?
I chose the Parallax camera backpack because I wanted something I can use for travel, day trips, and hiking. Specifically something that will hold my camera equipment, some basic gear, maybe a change of clothes and other assorted items. Basically something that will work for quick and longer trips.
In my search for a camera backpack I looked at many bags, but I really liked the Mountansmith products. It was basically a tossup between the Parallax and the smaller more “backpack” style Borialis. When I took a look at the Borialis it seemed a little too small for what I wanted. The Borealis is more of a day pack, and contains a main camera area and a separated area for things other than camera equipment. It also has a space for a laptop, up to 17″. The Parallax has one large internal area for camera equipment and whatever else you can fit in there, along with additional pockets for laptops (also up to 17″), etc. Since I only have one camera, the Nikon D810, I don’t need the whole bag for camera equipment, so there there is room for some clothing, other travel materials, including my laptop.
Also, the Parallax is the “#1 choice for National Geographic contributing photographer, Andy Mann.” If you’re looking for a celebrity endorsement.
What’s Included?
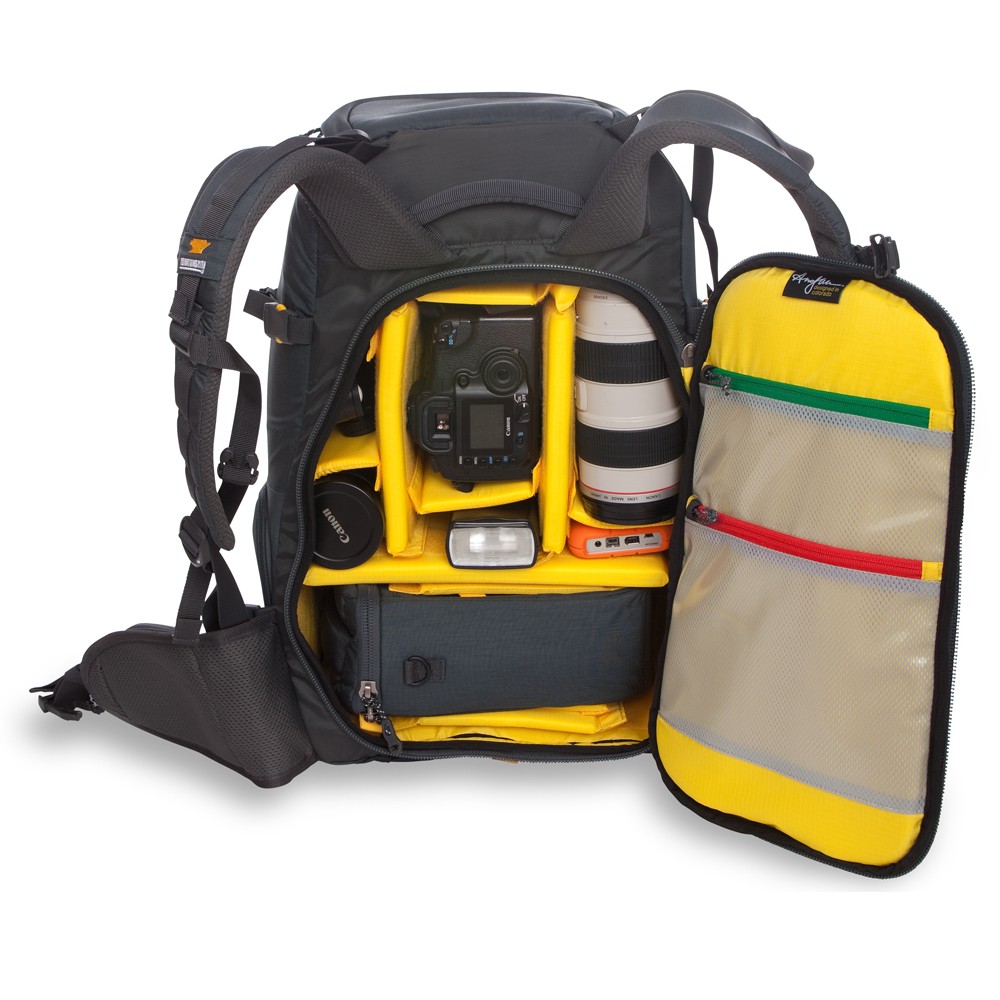
Included with the Parallax is the backpack of course, as well as a smaller camera bag, the “chest-mount DSLR case”, that fits inside the backpack and is accessible from the right side of the backpack.
The DSLR case can be removed and not used, adding a fair amount of space to the bottom of the bag, or you can store a camera in there, with a smaller telephoto lens attached. You can use this for things like day trips, or moving around where you may not want to carry the whole backpack. The small bag also can be strapped to the backpack so you can pull it out of the side flap, across your chest and clip it into the shoulder harness allowing you to free up your hands and get direct in front of you access to your camera.
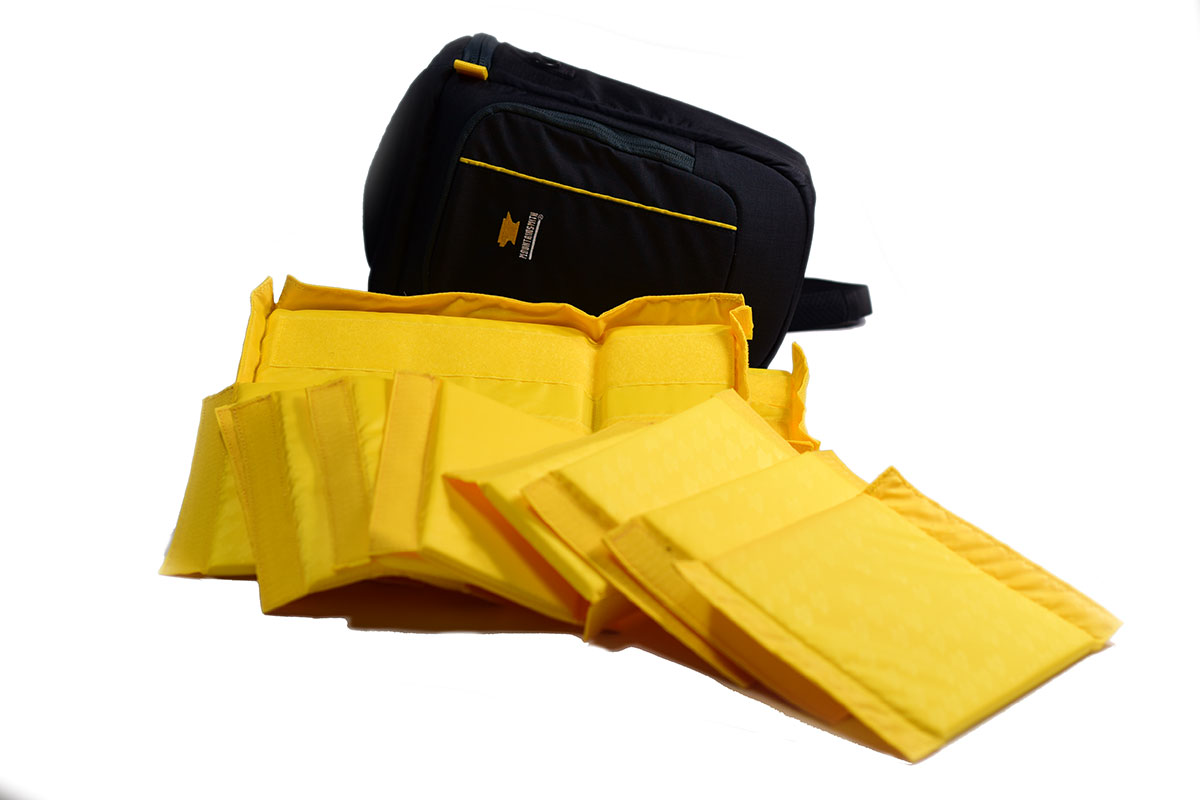
The DSLR case comes with 2 removable Velcro inserts inside. The main backpack comes with 3 large panels, 4 smaller panels, 1 large floor plate used to “split” the area of the backpack, as well as 2 large flexible “L” shaped sections that can be used to create lens pockets and hold a camera with a large telephoto lens attached that is accessible from the top of the backpack.
Gear Fit
Parallax Backpack
The Parallax is quite roomy, capable of holding 3 DSLR bodies, 2 with lenses attached (maybe all 3 depending on how you set everything up). With all of the interior panels removed, the backpack measures 12″ x 21.5″ x 7.5″ (W x H x D), the bag tapers towards the top, so the measurements are are the widest/tallest points.
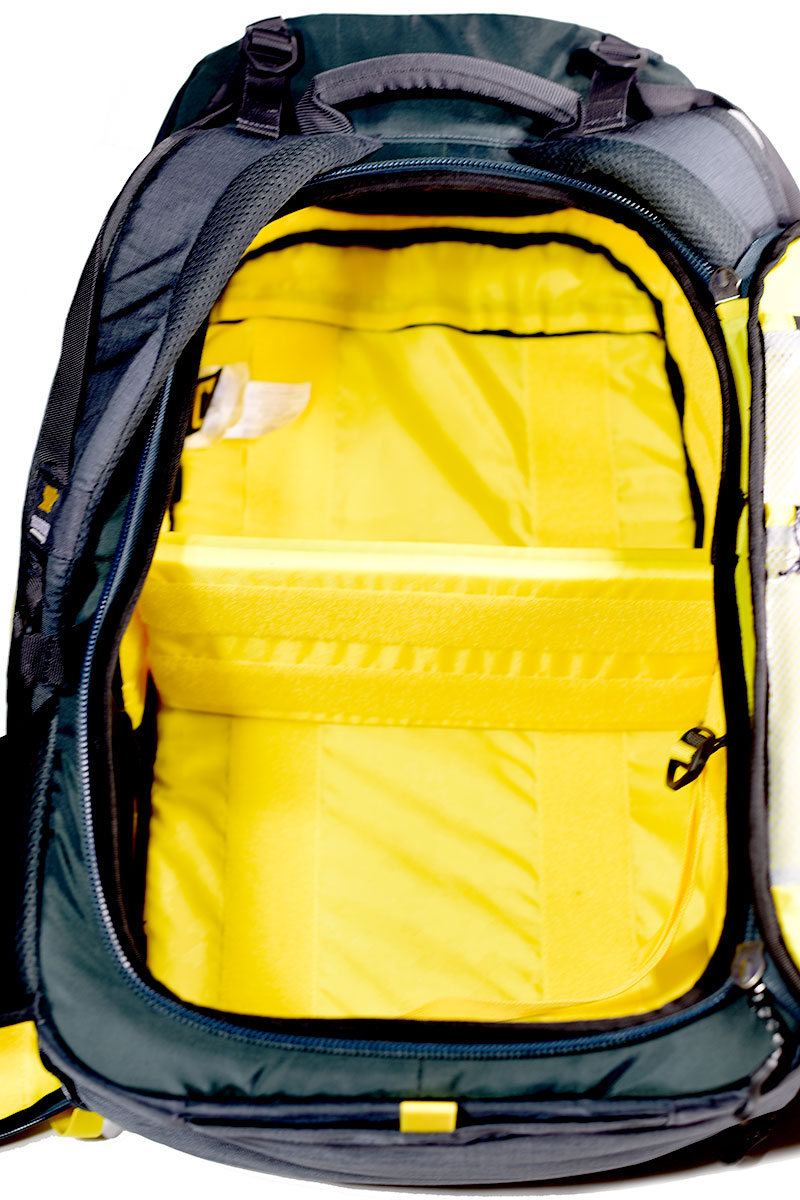
With the configurable and removable spacers for the backpack, you can really customize the internal configuration in a massive number of ways. I’ve been playing around with different configurations to see what gives me the best space for one camera, an extra lens, and a day or two worth of clothing and supplies, and of course a laptop, chargers, and camera accessories (memory cards, etc.).
DSLR Case
The DSLR case is on the smaller side, it will fit most basic or “prosumer” camera models, though I question if it would fit larger “pro” models. For my use, I am using a Nikon D810, and it fits into the case, but it’s a tight squeeze because of the height of the camera… The accessory shoe on the top of the camera tends to get hooked on the case, so it makes it a little rough to get in and out. But, with some more use and the case breaking in a bit more, I think it will get easier.
But, the case will definitely not fit a camera with a battery pack on it, or any accessories. It’s designed for a body and basic lens… It fits my 28-300mm Nikor lens without any issue, but I did have to remove the lens hood. The overall inside dimensions of the DSLR case are 9″ x 7″ x 5″ (L x W x H). I think most cameras will fit length and width wise, but height might be a bit of a stretch.
Other Pouches
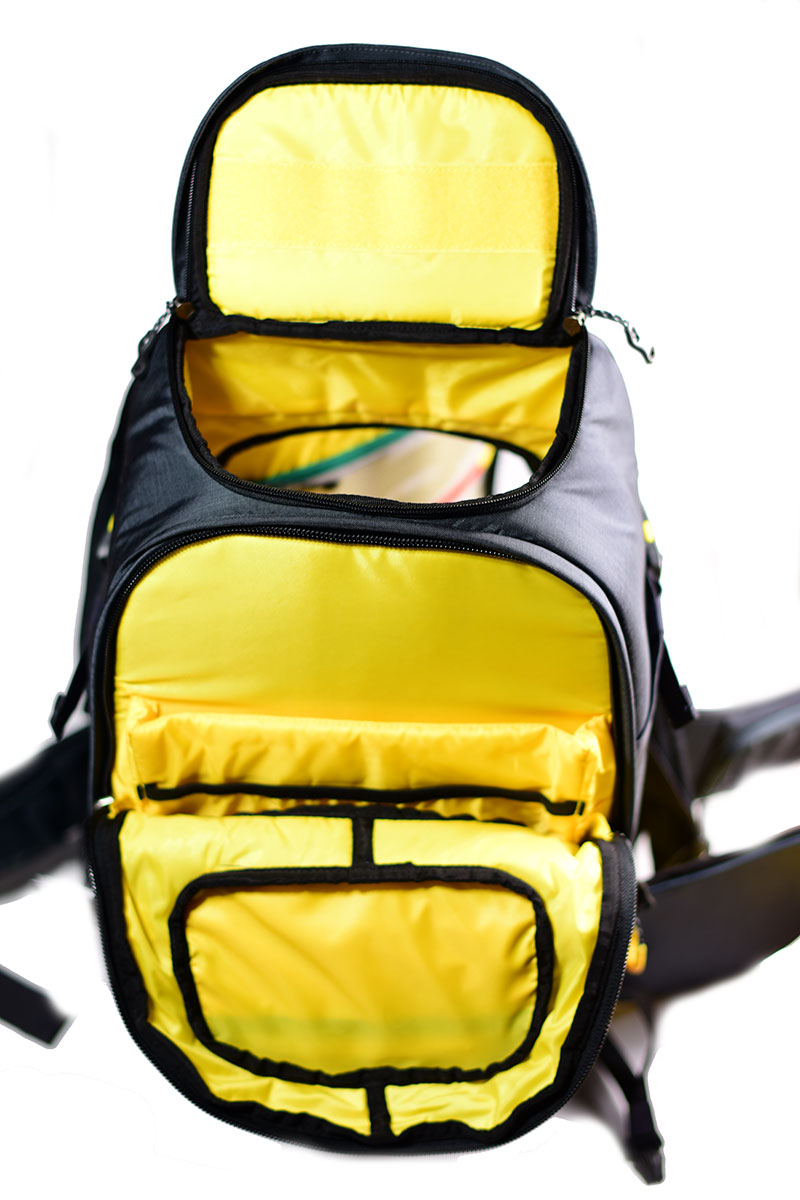
The Parallax also has a space for a laptop, up to 17″ and a tablet or other smaller computer or thin objects. The main laptop area will hold a computer that is up to 10.5″ wide. The smaller space will hold one up to 9.5″ wide.
Then, on the front of the bag, there are two zipper pockets, the top, a small pocket for random small items. Then below that, a larger zipper compartment that can hold things like a small notepad, pens, cards, etc.
There is also a zippered “cell phone” pocket on the right waist strap. I say “cell phone” because my old iPhone 5 can barely fit in it… So any of the new iPhone models or Android devices probably wont fit. So it’s more of a change, and other small loose item pouch. But it does have red/green marked separators in it. Also, there is an elastic and mesh pocket on the left strap.
For more detail, you can also check out the Mountainsmith video:
Comfort
The Paralax is overall a pretty darn comfortable camera backpack. The shoulder straps are wide, but not overly wide and they are well padded. The back is also well padded and breathes.
The shoulder straps are able to be cinched tight, and when coupled with the waist and sternum belts, it hugs nicely and doesn’t move around much. I could see this bag working quite well for hiking in rocky areas, or other outdoor activities that may require you to move around and be pretty nimble.
But as far as a camera backpack, that was designed to carry a lot of gear, safely, this bag is quite comfortable.
Air Travel
Traveling with this bag is pretty easy. The Parallax fits nicely in overhead bins on most airplanes I’ve been on, with exception to some of the much smaller aircraft. But it’s a breeze to move through the isles and isn’t overly large. It is large, but no bigger than most peoples roller suitcases.
Also, the easy access to the laptop compartment is nice for getting at your computer, but still keeping your camera equipment sealed up. makes it easy to grab the laptop without taking the whole bag down from the overhead, or when sitting in the terminal.
So this bag works quite well for bouncing around on airplanes, and once you are at your destination you can use the DSLR Case if you don’t need all of your other gear.
Specifications
| Features | Three-point access to camera gear Backpanel Access Side Panel Access(Deploys chest-mount DSLR case) Top Panel Access Padded compartment with internal dividers for custom camera carry Two front organization pockets including padded laptop sleeve (Fits 17″ screens) Secondary iPad/Kindle/Tablet sleeve Side panel pocket with zip out bottom for tripod and light stand carry Padded waist belt with zippered pocket Side compression straps for accessory carry and load stabilization Dual density shoulder straps with load lifter suspension Lens case attachment point Removable rain cover |
|---|---|
| Details | YKK® Zippers Bar tack reinforcements 5000mm PU waterproof fabric coating |
| Materials | 500d S-Kodra High Tenacity Nylon 210d Liner Atilon Foam |
| Dimensions | Exterior: 23″ x 13″ x 9.75″ (H x W x D) Interior: 22.25″ x 12.25″ x 9″ |
| Volume | 1880 cu. in. / 30.5 L |
| Capacity | 3 DSLR Bodies / Assorted Lenses / Flash / Accessories / Laptop / Tablet / Tri-pod |
| Weight | 6 lbs 12 oz / 3.06 kg |
Ratings (out of 5 stars)
Size * * * *
The Parallax is a good size bag, it can hold a lot of equipment. I only give it 4 stars because it would be nice if it was more collapsable so if you don’t have really wide gear. Otherwise, it’s a great size camera backpack.
Configuration Options * * * * *
The Parallax is ultra configurable. The inside is a large shell, and you can customize it in many, many, many different ways. It’s really only limited by your imagination and maybe needing more inserts, though the provide a TON of them.
Gear Fit * * * * ½
This bag will fit almost any DSLR or similar video gear. The only thing that I wish was a little more flexible was the included smaller DSLR case. I had some issues getting that to work, and it definitely wont fit a zoom lens with a lens hood. Other than that, I can’t imagine any camera not fitting into this bag, it works for most anything that you would want to carry around.
Price * * * *
I found the bag on backcountry.com for a really good deal. But even at the full retail price I feel this bag is a good deal. But it’s an even better deal if you can find it on sale somewhere. Bottom line, I wouldn’t be disappointed with the bag if I had spent full price.
Overall * * * * ¼
This is a great camera backpack. It fits all my gear and leaves a lot of extra room so I can use it as a day pack, etc. I’m looking forward to getting many years of service out of it. I’m definitely happy I went with the Mountainsmith Parallax Camera Backpack.


Good review. I’m looking for the bag to fit a 17.3″ laptop. do you believe that it will be able to fit such a beast?
This is to save me from traveling with a laptop bag as well as a camera bag
Thank you. You can cram a laptop that is about 10.5″ – 10.6″ wide into the laptop pocket (that’s about the max width). I’ve carried my 17″ Lenovo ThinkPad without any issues, It’s 10.5″ wide and 1.5″ thick. I’d measure the overall width, and if it’s anywhere less than 10.5″ and less than 1.5″ thick, it should fit. It’ll be a tight fit, but it works without much issue. Hope that helps!
I can’t find anywhere online the fit range of the waist strap. There is a review on Amazon that says it can only cinch down to 30”. Is this true or is the waist strap more adjustable than that?
From my measurements, the waist strap will go down to about 28″. Remember that is over the outside of clothes, etc. I have a 31″ waist and am about 3-4″ away from the smallest size, with just a t-shirt on (for normal wear)… With a jacket and other layers there is even more room. So it just depends on your size, but it’s definitely true, it doesn’t get super tiny. If you are under a 30″ waist, you may hit some issues depending on how tight you are trying to go.