I’ve been hunting for a security camera setup for my home for quite some time, doing a ton of research, looking at multiple brands, etc. One thing that kept coming up is that a lot of the specs were very close to the same on many of the products in my price range.
There are obviously certain aspects that are different from each brand, like mounting options, hardware, accessories, camera options, and of course cost. But in a lower cost, “non-professional” system, your options tend to blend together across brands. There are also not a lot of power over ethernet (PoE) cameras out there in the lower price points. Especially not ones that are available in a full system configuration with an NVR, etc.
The TL;DR:
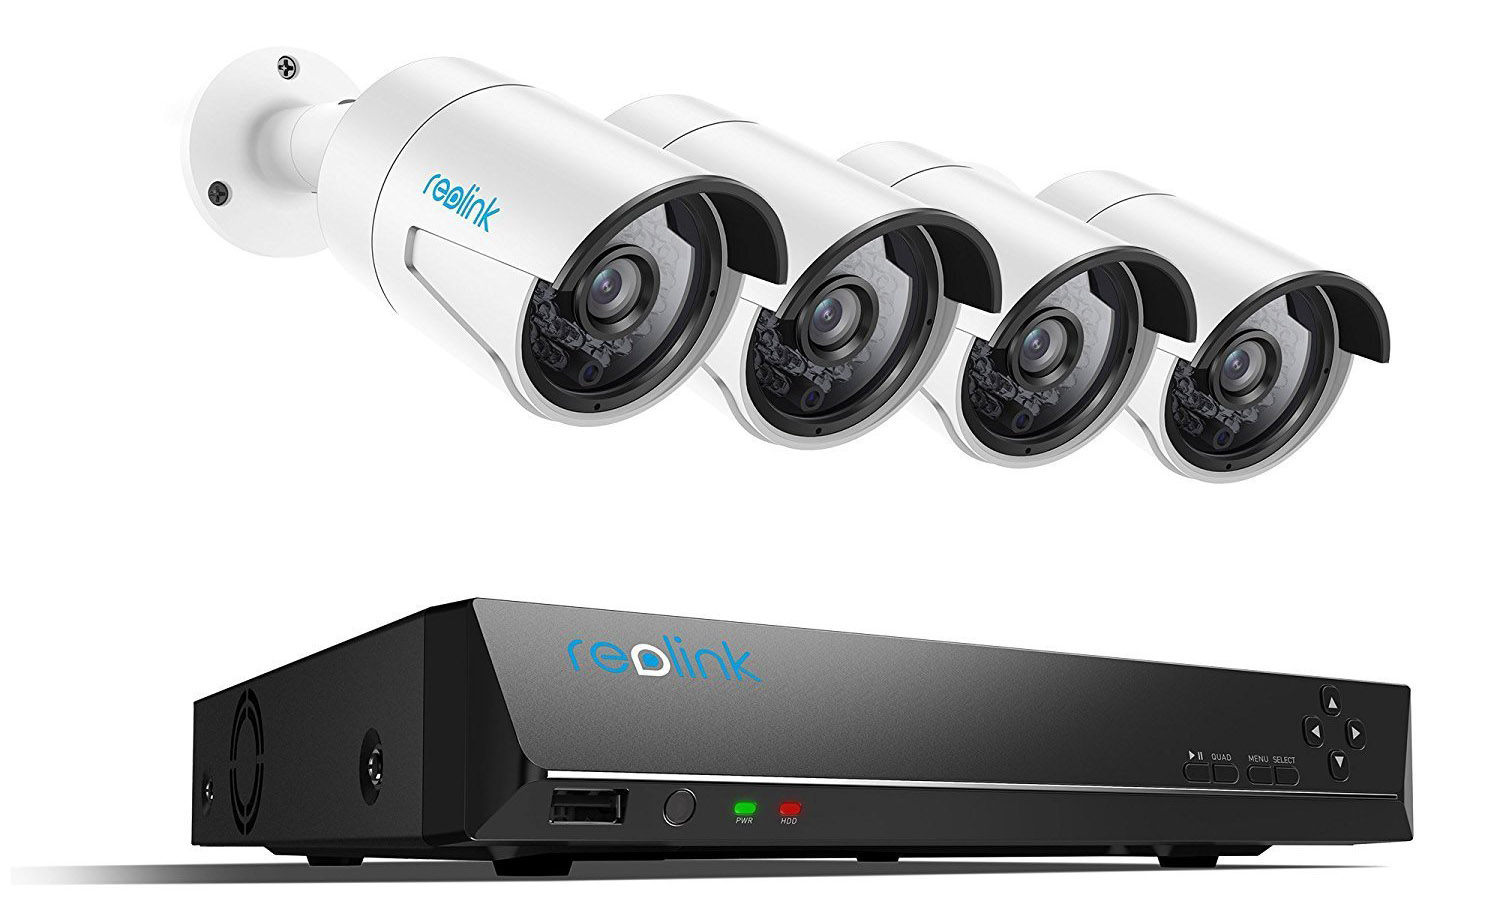
The main brands that I narrowed down to was Hikvision and Reolink. And the real deciding factor in the end was the cost of the NVR that was available for the selected system (I didn’t want to do a roll your own system). The Reolink system with 4 cameras and a NVR with a 2TB hard drive came in at $479.99 USD. For Hikvision, the just the NVR with a 2TB drive was $396.00 USD. So the Reolink system won.
Initial Thoughts
I’ve setup a couple of the Reolink RLC-410 PoE cameras and the NVR, and so far, I don’t really have any major complaints. The resolution and clarity of the cameras is good, the NVR is pretty standard for this price point, and everything seems to just work in one form or another.
One thing I will say is that the NVR and software (and every NVR I’ve seen at this price point) all have the same downfalls… A very “old” style UI that is simple and often slightly confusing due to various language translation issues. But otherwise, no major complaints so far.
Installation
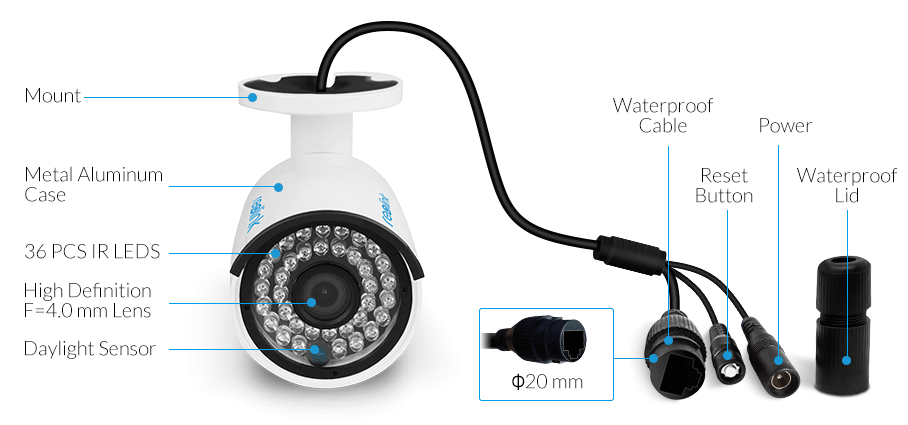
The PoE cameras are generally easy to install. Drill a couple holes, a couple screws and attach an ethernet cable, and a few seconds later, you’re able to see video on the NVR. The only thing that I ran into that I didn’t like was that the connectors for the camera are rather large and there are 3 different dongles. If you are trying to thread the cables through a wall or anything where space is an issue, it adds a lot of complication.
It would be much nicer if there was a single connector that could connect to the 3 dongles, or something that would allow you to remove them completely so you could drill a smaller hole through a wall. Bottom line, the wiring harness is a bit bulky and that makes doing wiring a little complicated at times.
Another thing to note is that the NVR doesn’t seem to have any obvious easy mounting options to wall mount it. So if you plan to attach it to a wall or otherwise hang it, you’ll have to come up with something.
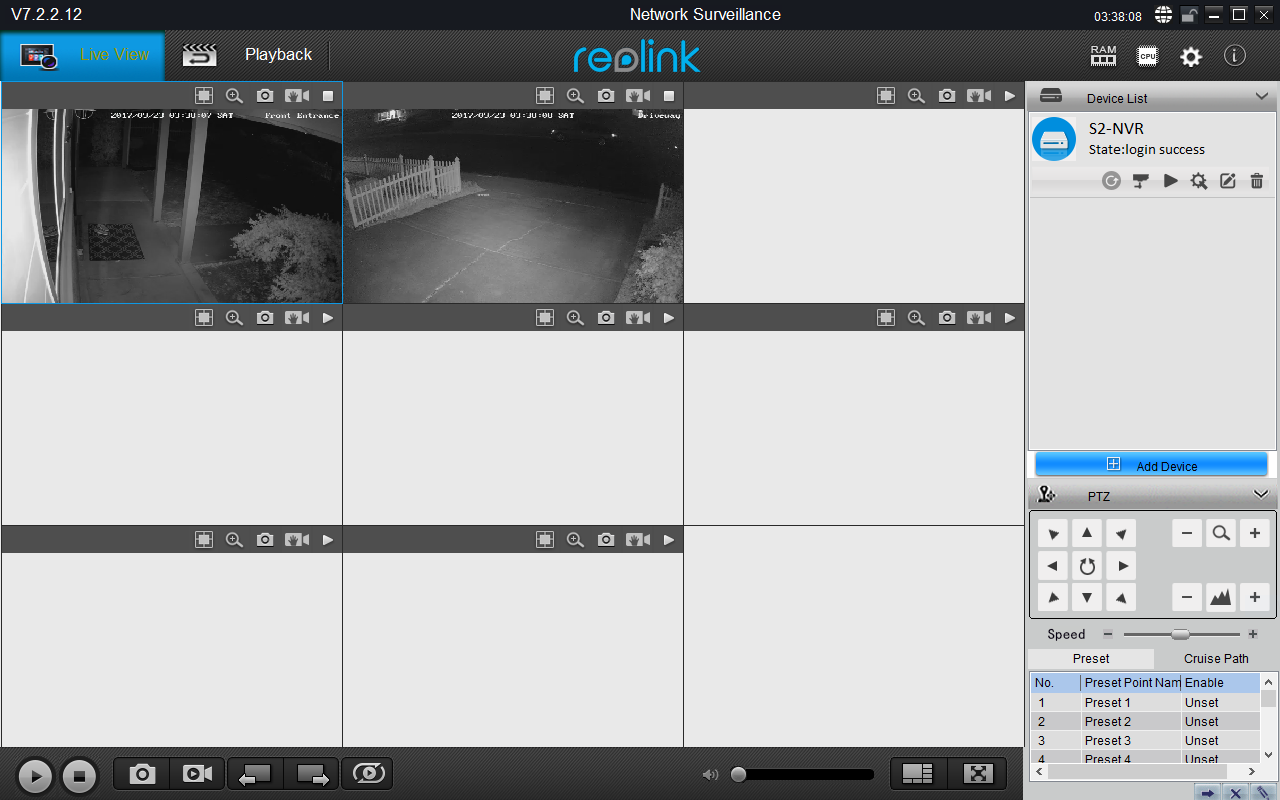
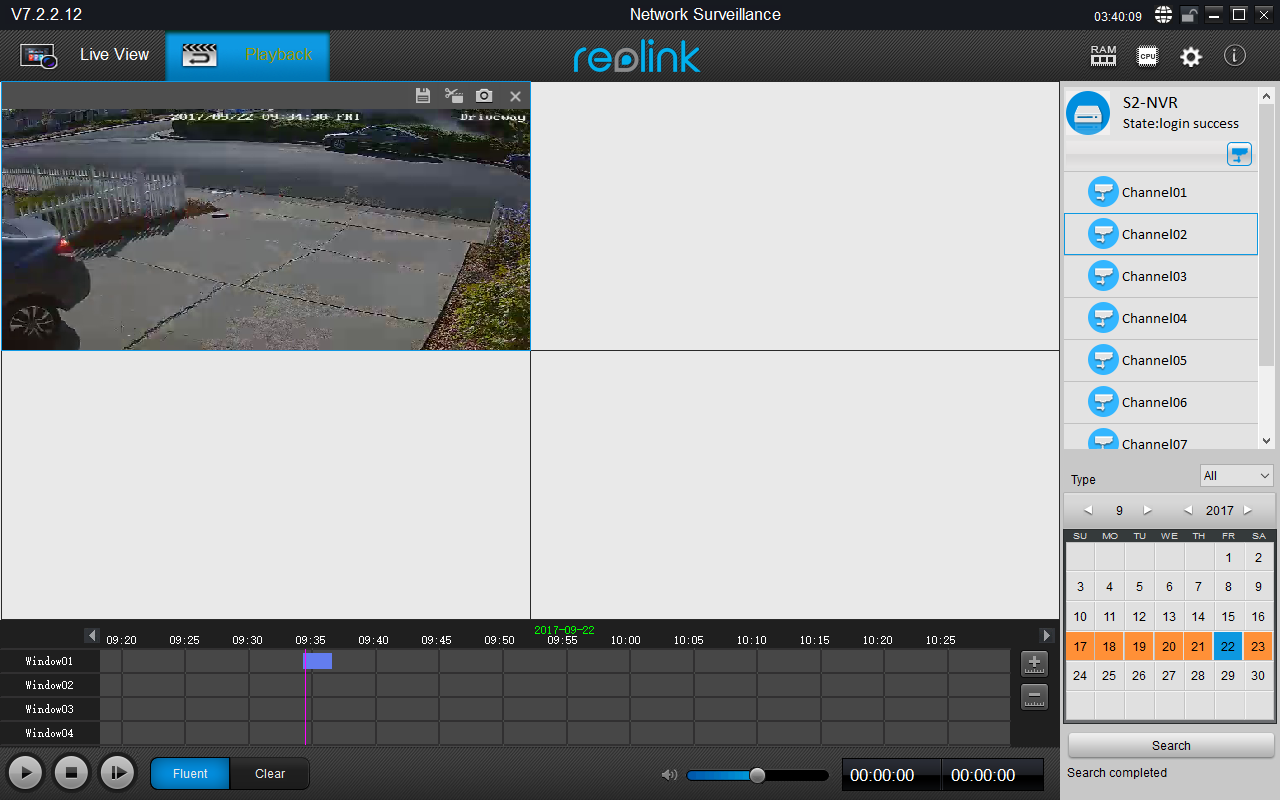
Windows Software
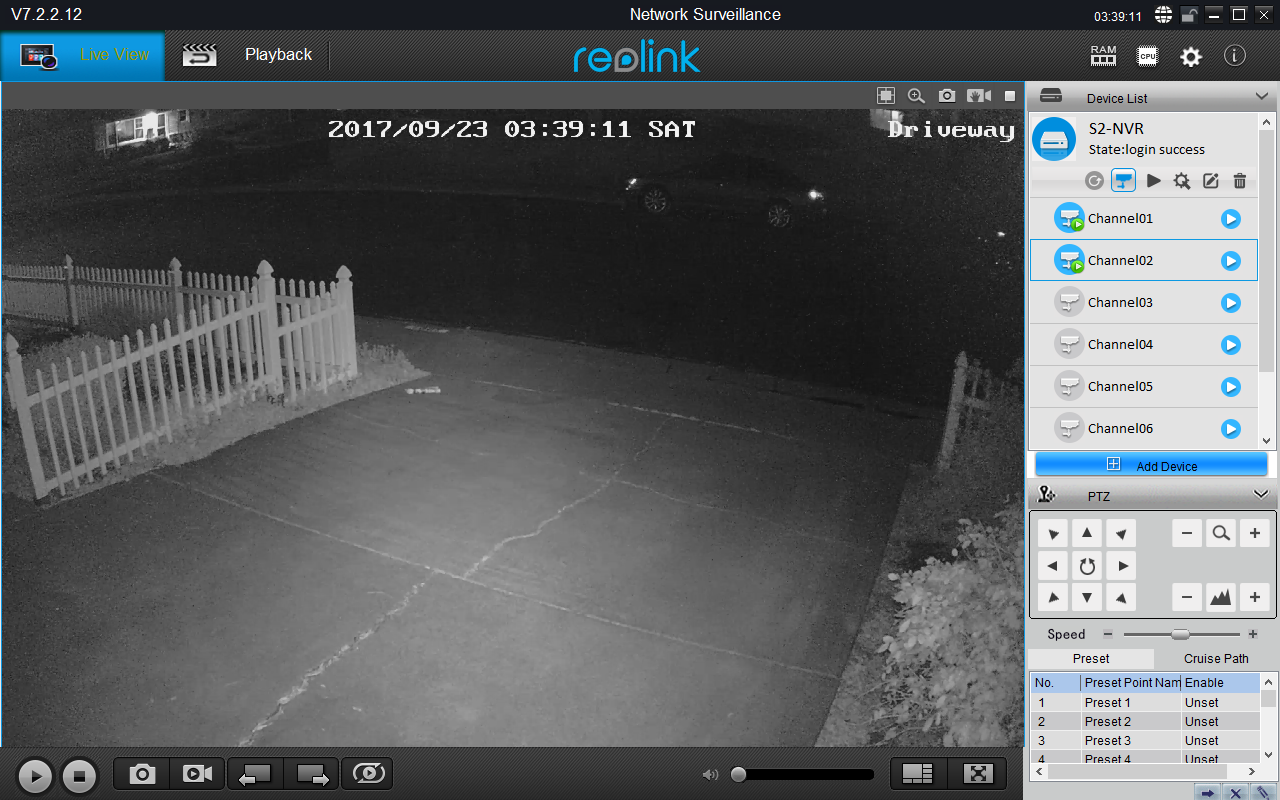
The Windows software that you can download to configure and monitor the NVR and cameras works pretty well. It’s a little on the rough side as far as UI and ease of use is concerned. There are also a few language translation issues. But overall the software seems to work well and I haven’t had any issues crashing or anything like that.
Using the desktop software is also much easier for doing basic configurations (having a keyboard and cleaner UI helps a lot). Things like setting up the motion detection regions, privacy regions or fine tuning various settings are much easier in the app than on the NVR. So, I definitely recommend just doing a basic config on the NVR, then handling the rest in the desktop application.
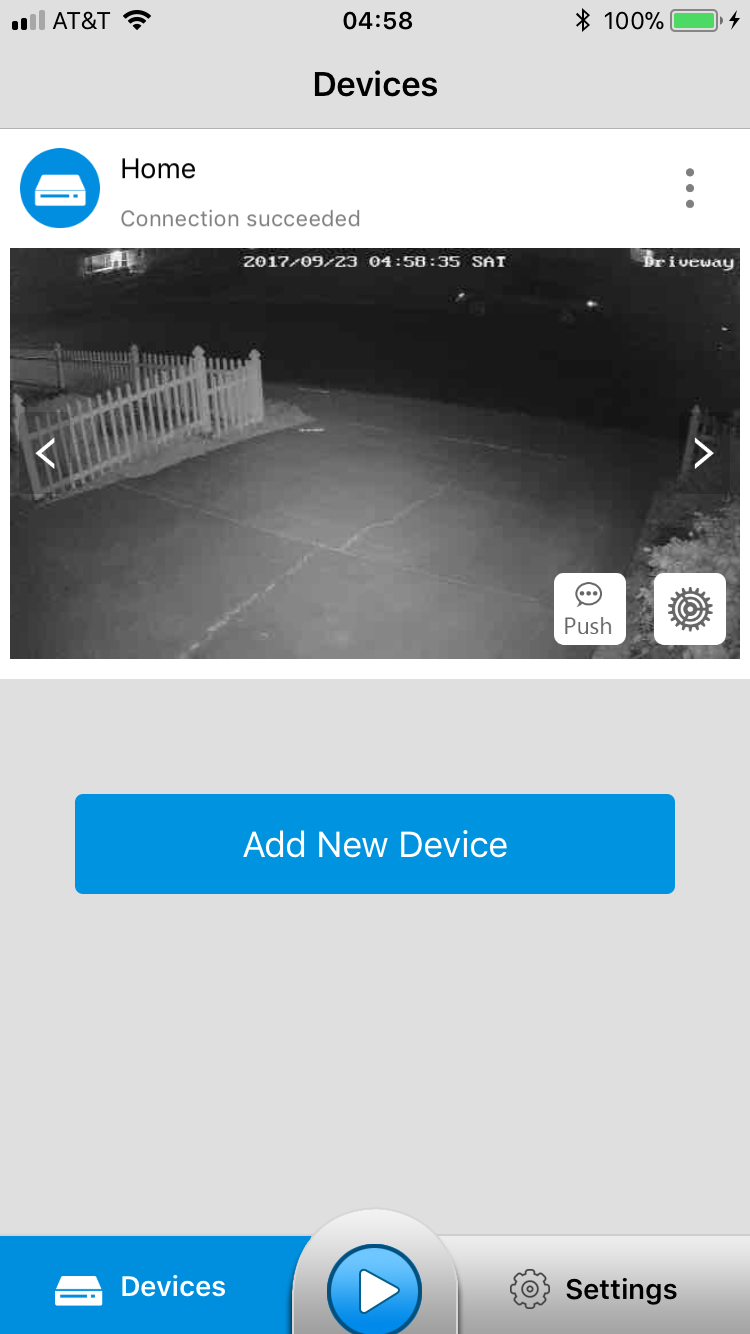
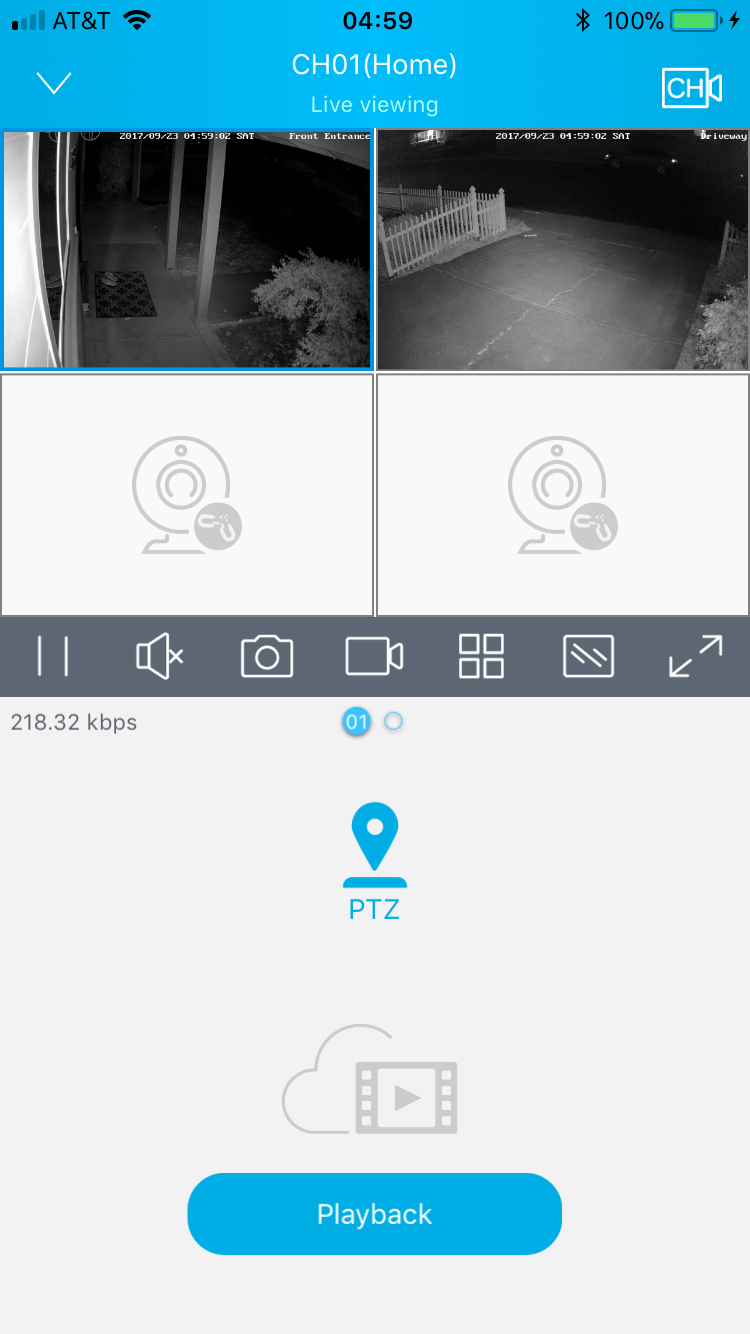
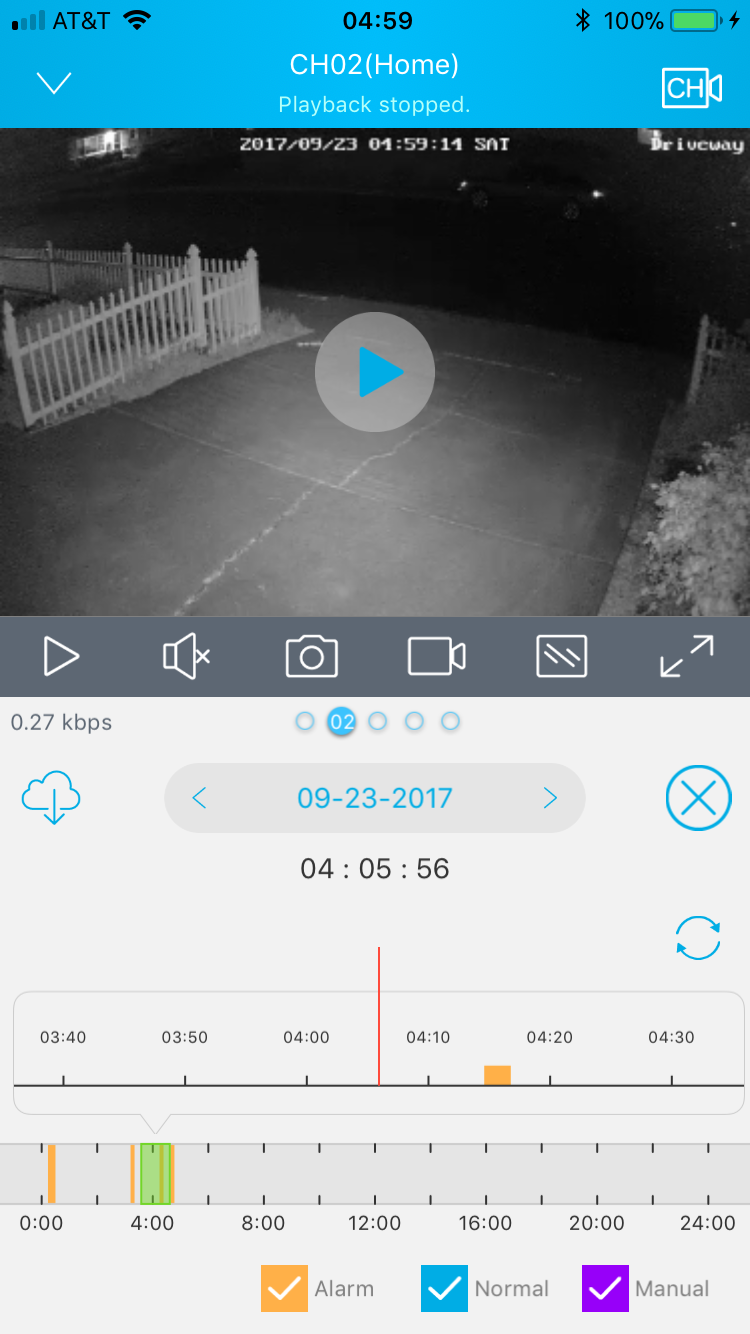
Mobile Software
I’ve only been using the mobile software on iOS, and so far it’s worked quite well. No complaints with it. You can monitor the streams live and go through playback footage. It gives you basic access to most of the basic features and is actually pretty nice to have.
The NVR
The NVR is pretty basic, it doesn’t have any crazy extra features or otherwise notable functionality. It does look decent and is a pretty small form factor, 26 cm (W) x 4.1 cm (H) x 23 cm (D), 10 in (W) x 1.6 in (H) x 9 in (D). As I mentioned earlier, it doesn’t really have any mounting holes, so you can’t easily wall mount it, if that’s something you were thinking of doing. Also, the cooling fan in the side of the case is quite loud. So don’t plan on having this sitting next to your desk and not getting VERY annoyed by it.
The 2TB hard drive that comes with the NVR is a little on the slow side (as are all spinning rust drives). So loading of high resolution recordings is a little slow. But, this is pretty “standard” from what I’ve seen. And until there are low priced 2TB SSD drives, this will probably be the norm.
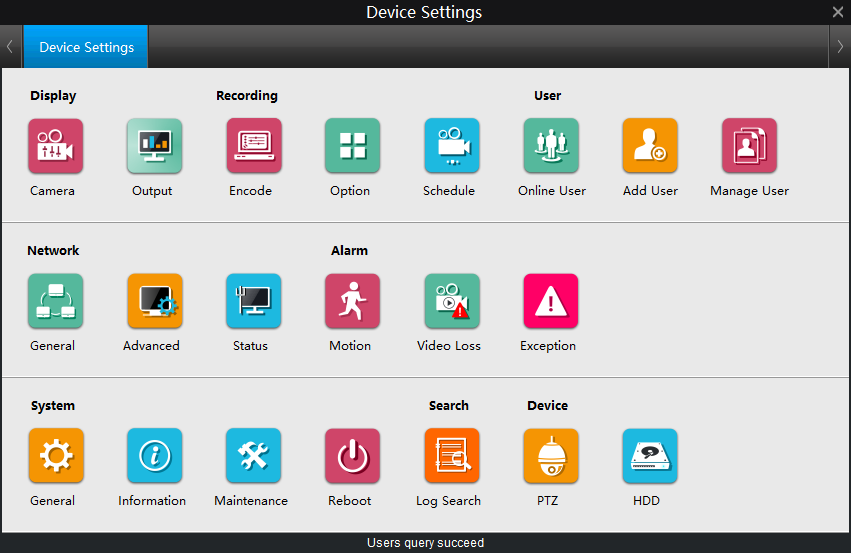
The UI of the NVR is designed around not needing a keyboard (standard NVR stuff) and to perform well, so it’s clunky and not pretty. But, it works and allows you to either monitor the cameras or change settings. The Windows and Mobile software is much nicer. But, the direct NVR software works for the basics, it just takes a while to get through all of the settings.
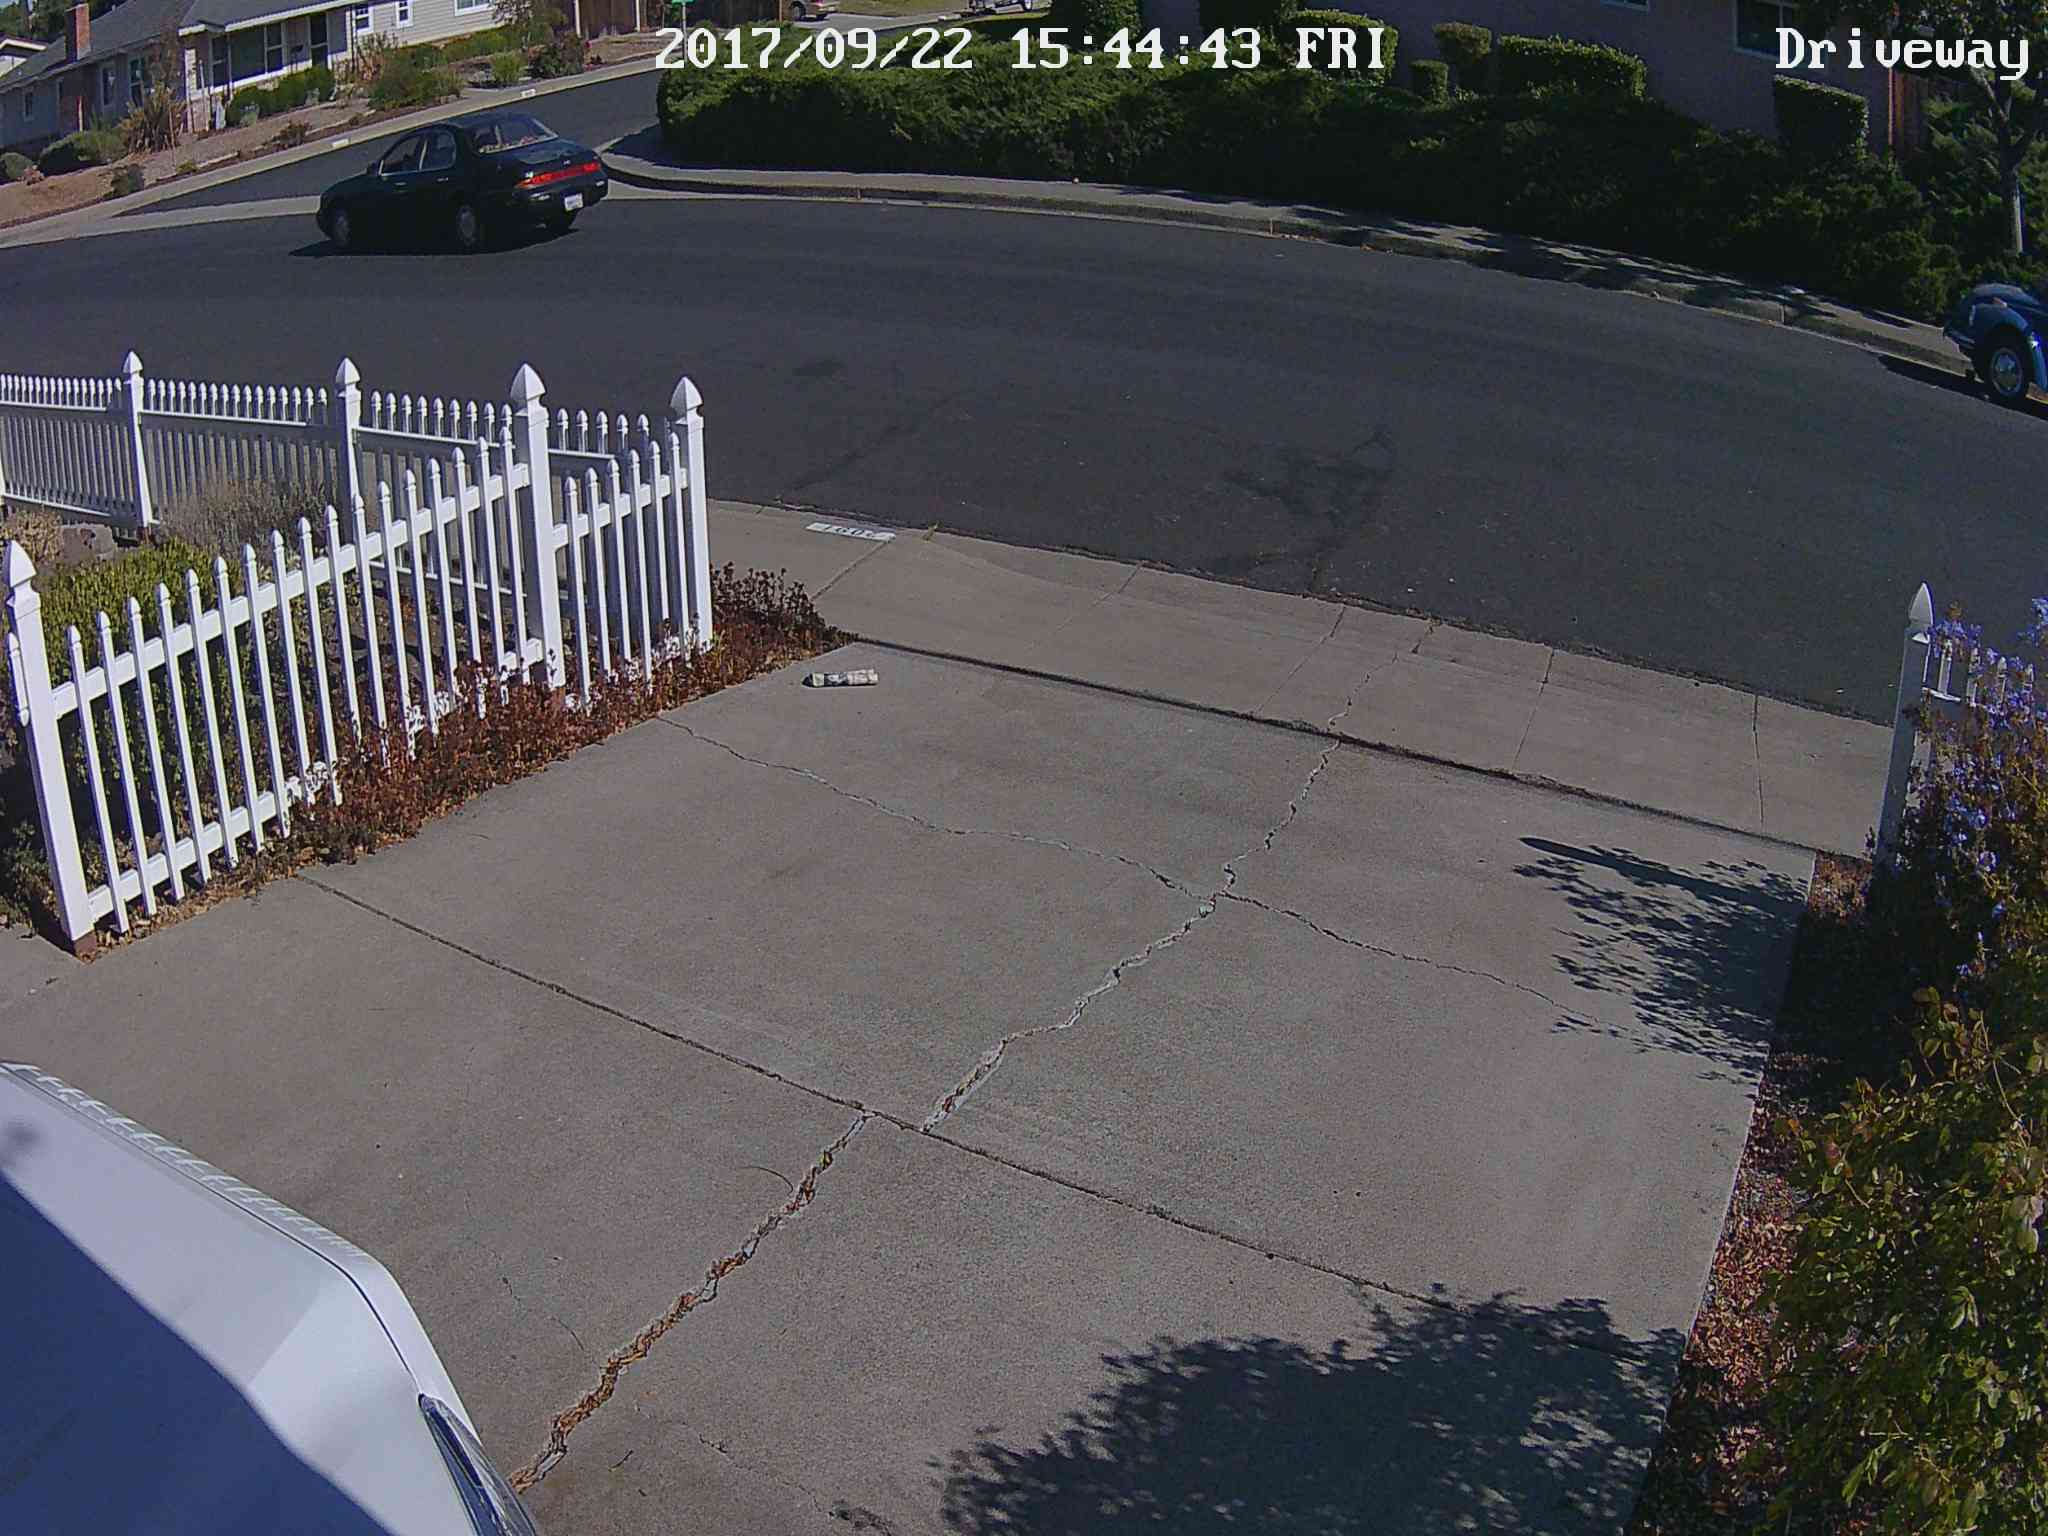
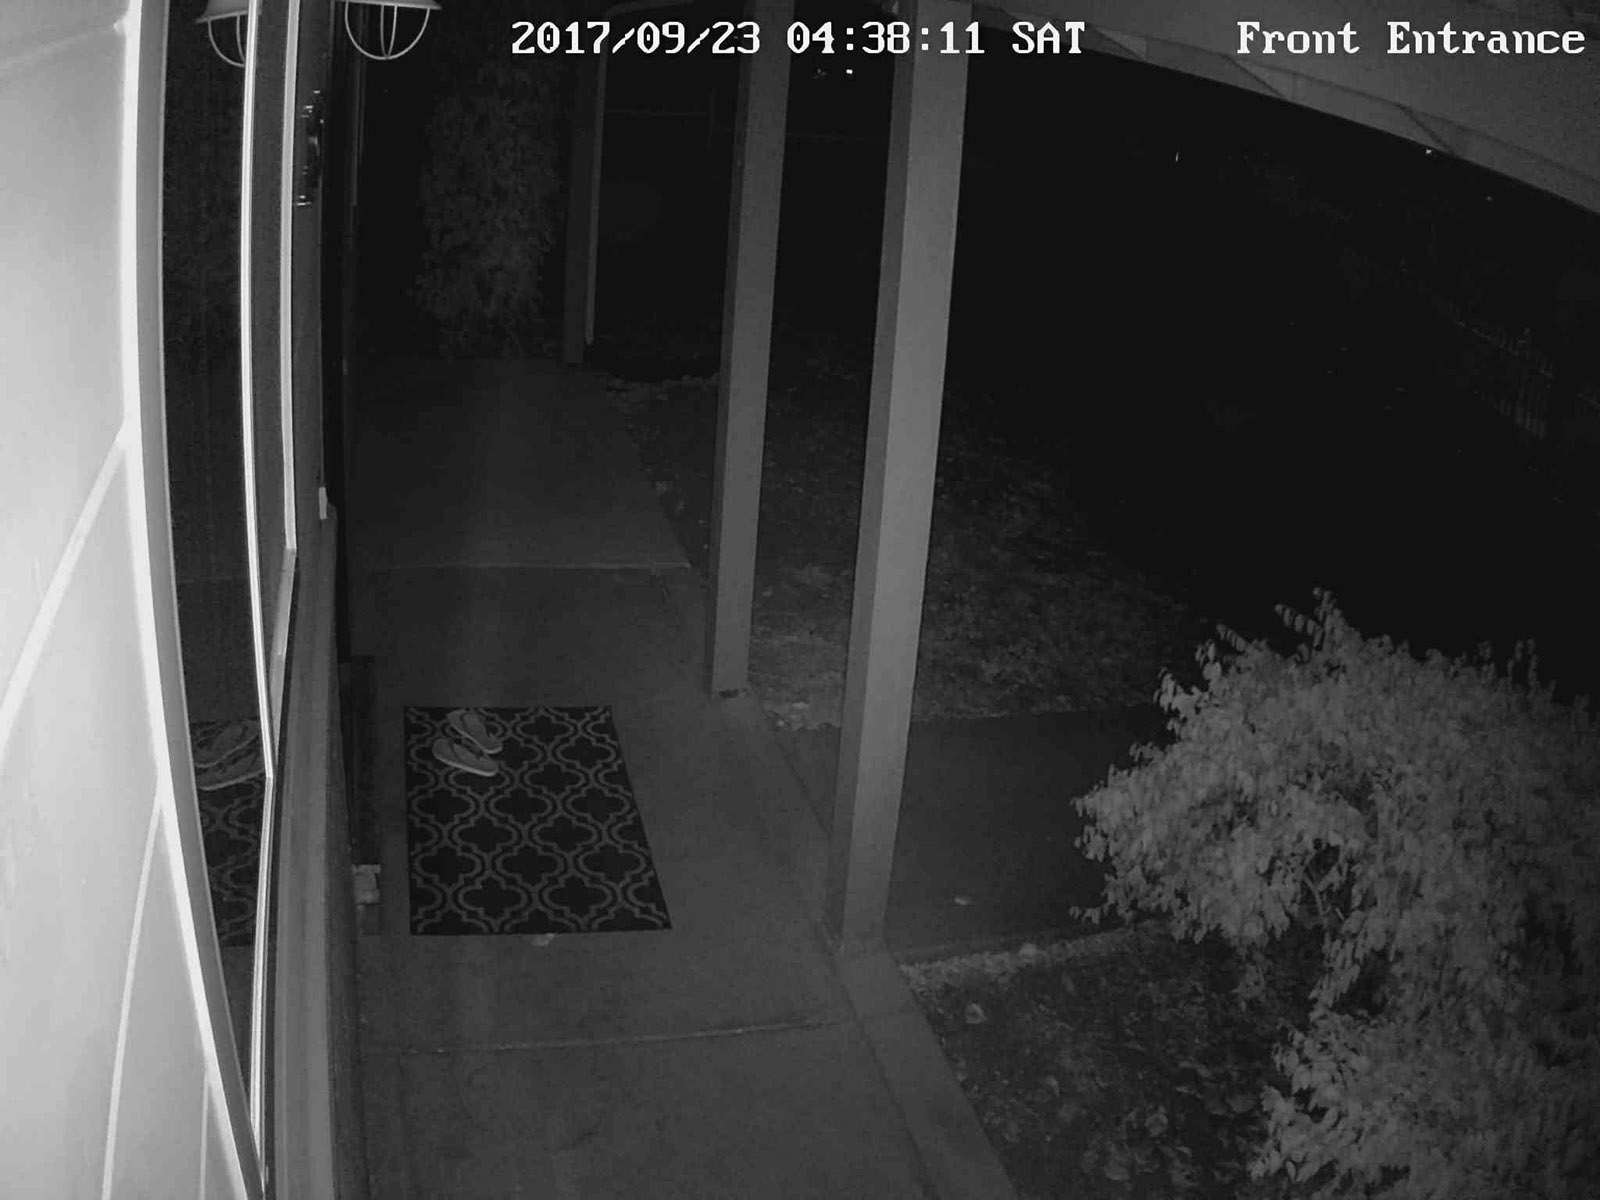
Camera Details
The RLC-410 camera supports a primary resolution up to 2560 x 1440 (QHD/WQHD) @ 30FPS with a sub stream of 640 x 360 (nHD). I actually tune down the primary resolution because the storage requirements of 2560 x 1440 @ 30FPS starts to get pretty crazy over time. And I’d rather have more footage than over time than less higher resolution footage. The night vision is also pretty decent (better than what I expected anyways, unusually lower end camera night illumination is trash).
The Bottom Line
The Reolink system has proven to work quite well for me. The camera quality is good, images are pretty sharp and the low light functionality seems to be pretty darn good. Cameras are also low cost, so if I ever want to expand my system, I can without a significant cost impact.
Have a specific question, feel free to ask!