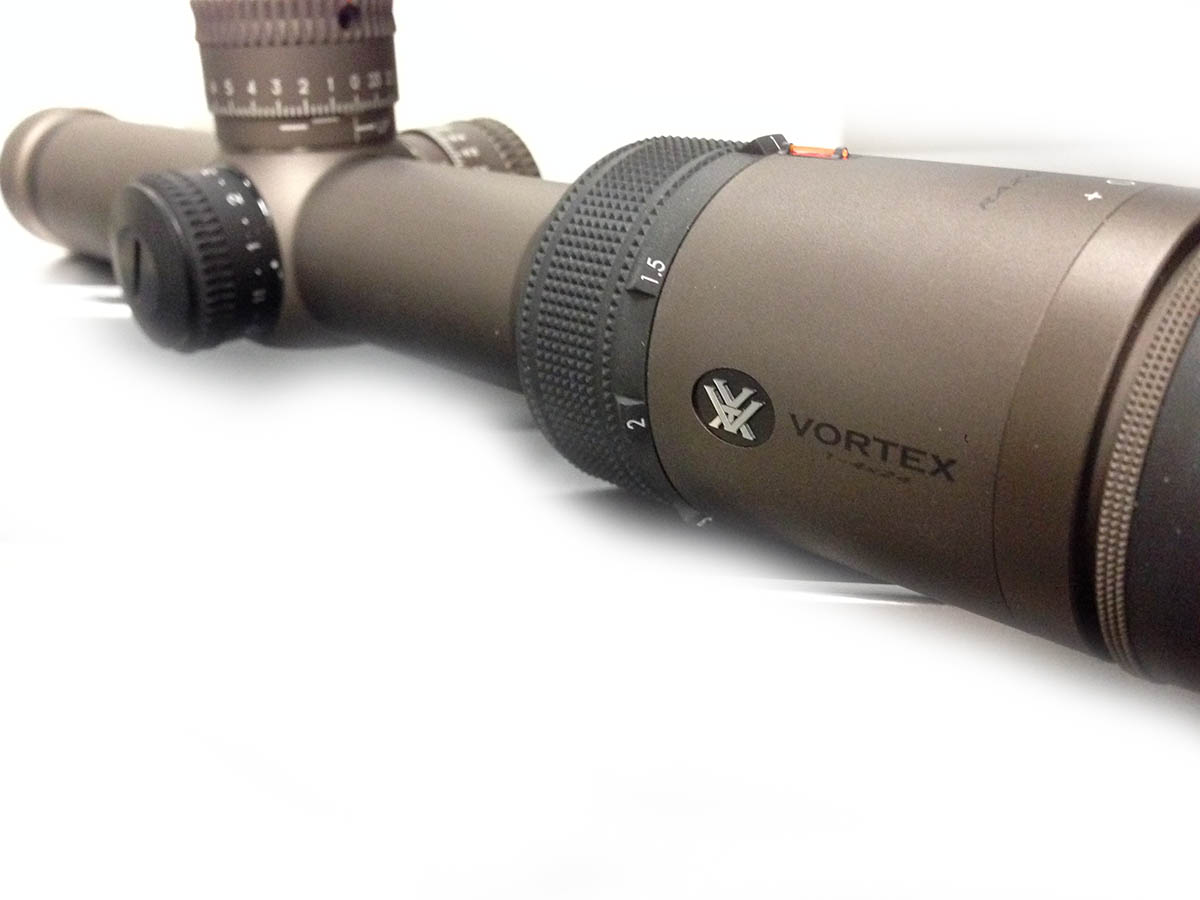
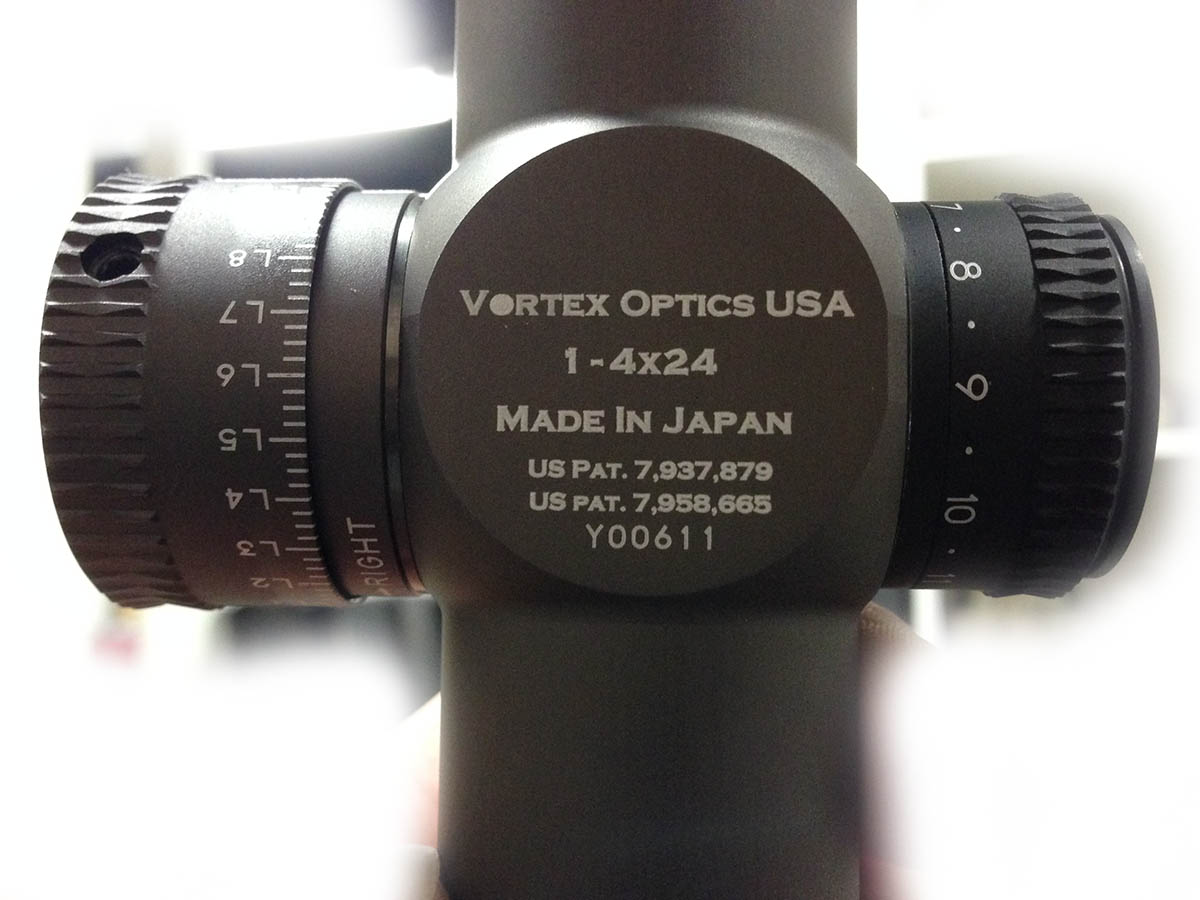
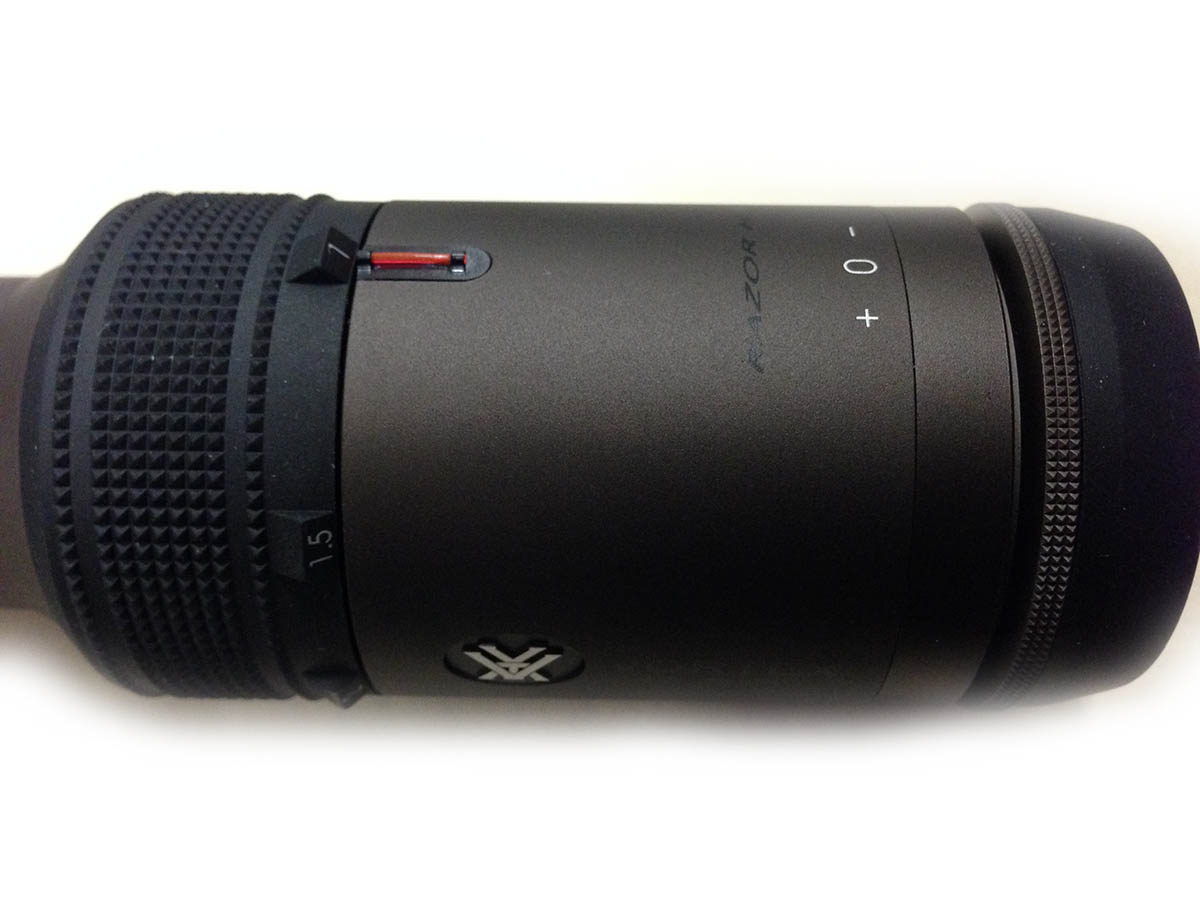
I recently got the opportunity to get my hands on a Vortex Razor HD 1-4×24 scope. This is pretty much one of the top of the line optics from Vortex, and I have to say I really like it. It’s a little on the heavy side at just over 20 ounces. Other than the weight, it is a great optic. The fit and finish is awesome, it feels very well put together, and everything just feels like quality. There are no loose turrets or anything like that.
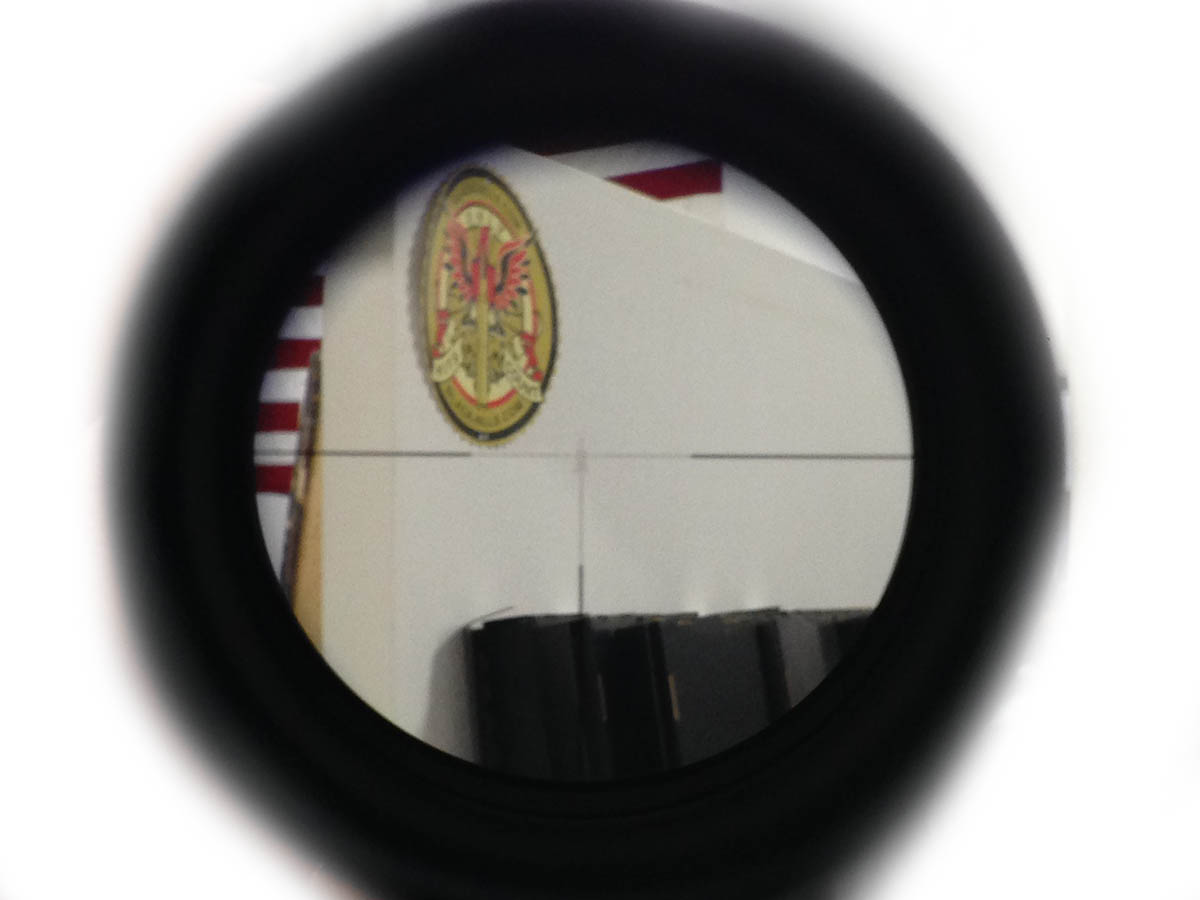
The “precision-etched” reticle is on the first focal plane (FFP), this allows for reticle to remain in proportion for the entire magnification range. This is a little strange at 1x (you cant see much of the reticle detail, but not that you need much more than an “X” at that magnification). But at the full magnification, the reticle and all of its detail is crystal clear. I’m a fan of FFP reticles, especially for longer range applications.
Here are all of the specs on the Optic from the Vortex website.
| Magnification | 1-4 x |
| Objective Lens Diameter | 24 mm |
| Eye Relief | 3.9 inches |
| Field of View | 94.5-24.2 feet/100 yards |
| Tube Size | 30 mm |
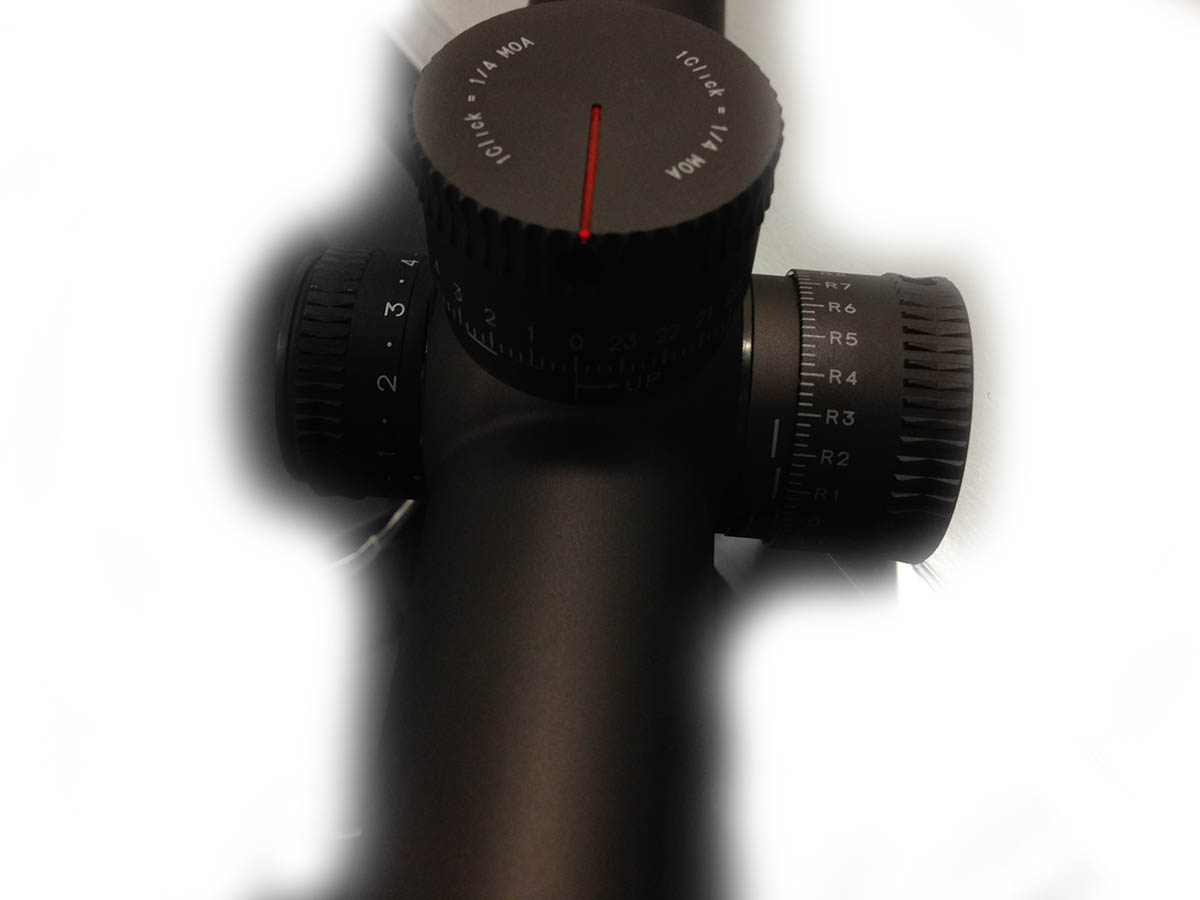
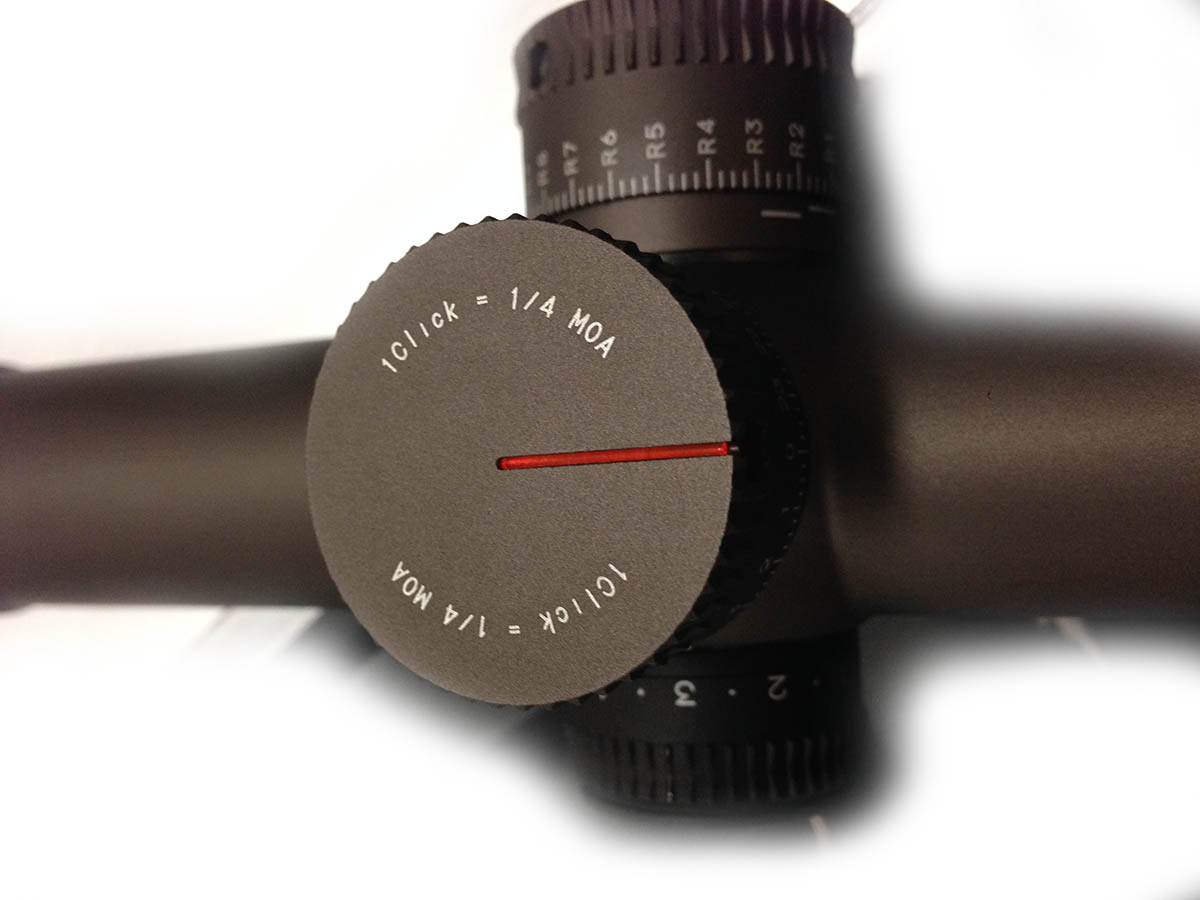
| Turret Style | Tall Uncapped |
| Adjustment Graduation | 1/4 MOA |
| Travel per Rotation | 24 MOA |
| Max Elevation Adjustment | 200 MOA |
| Max Windage Adjustment | 200 MOA |
| Parallax Setting | 100 yards |
| Length | 10.3 inches |
| Weight | 20.2 ounces |
I would definitely recommend checking out one of these optics, the price point is on the high side, but if you need a great 3-gun optic, I would definitely suggest taking a look at them. You can pick one up on Amazon or at your favorite optics dealer.